


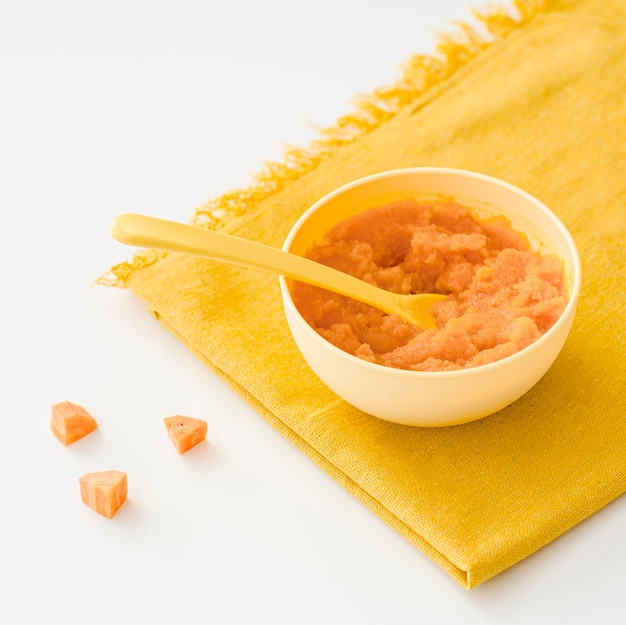
Introducing your own baby food is a rewarding milestone that empowers you to control every ingredient, ensuring your little one receives fresh, nutrient-dense foods to support healthy growth. Whether you’re just starting to make baby food or are ready to experiment with more creative recipes as your baby grows, this comprehensive guide has something for everyone—from simple purees to more advanced, textured meals. And if you’re pressed for time, our Serenity Kids ready-made baby food pouches are a high-quality, convenient alternative designed to simplify busy parenting without sacrificing nutrition.
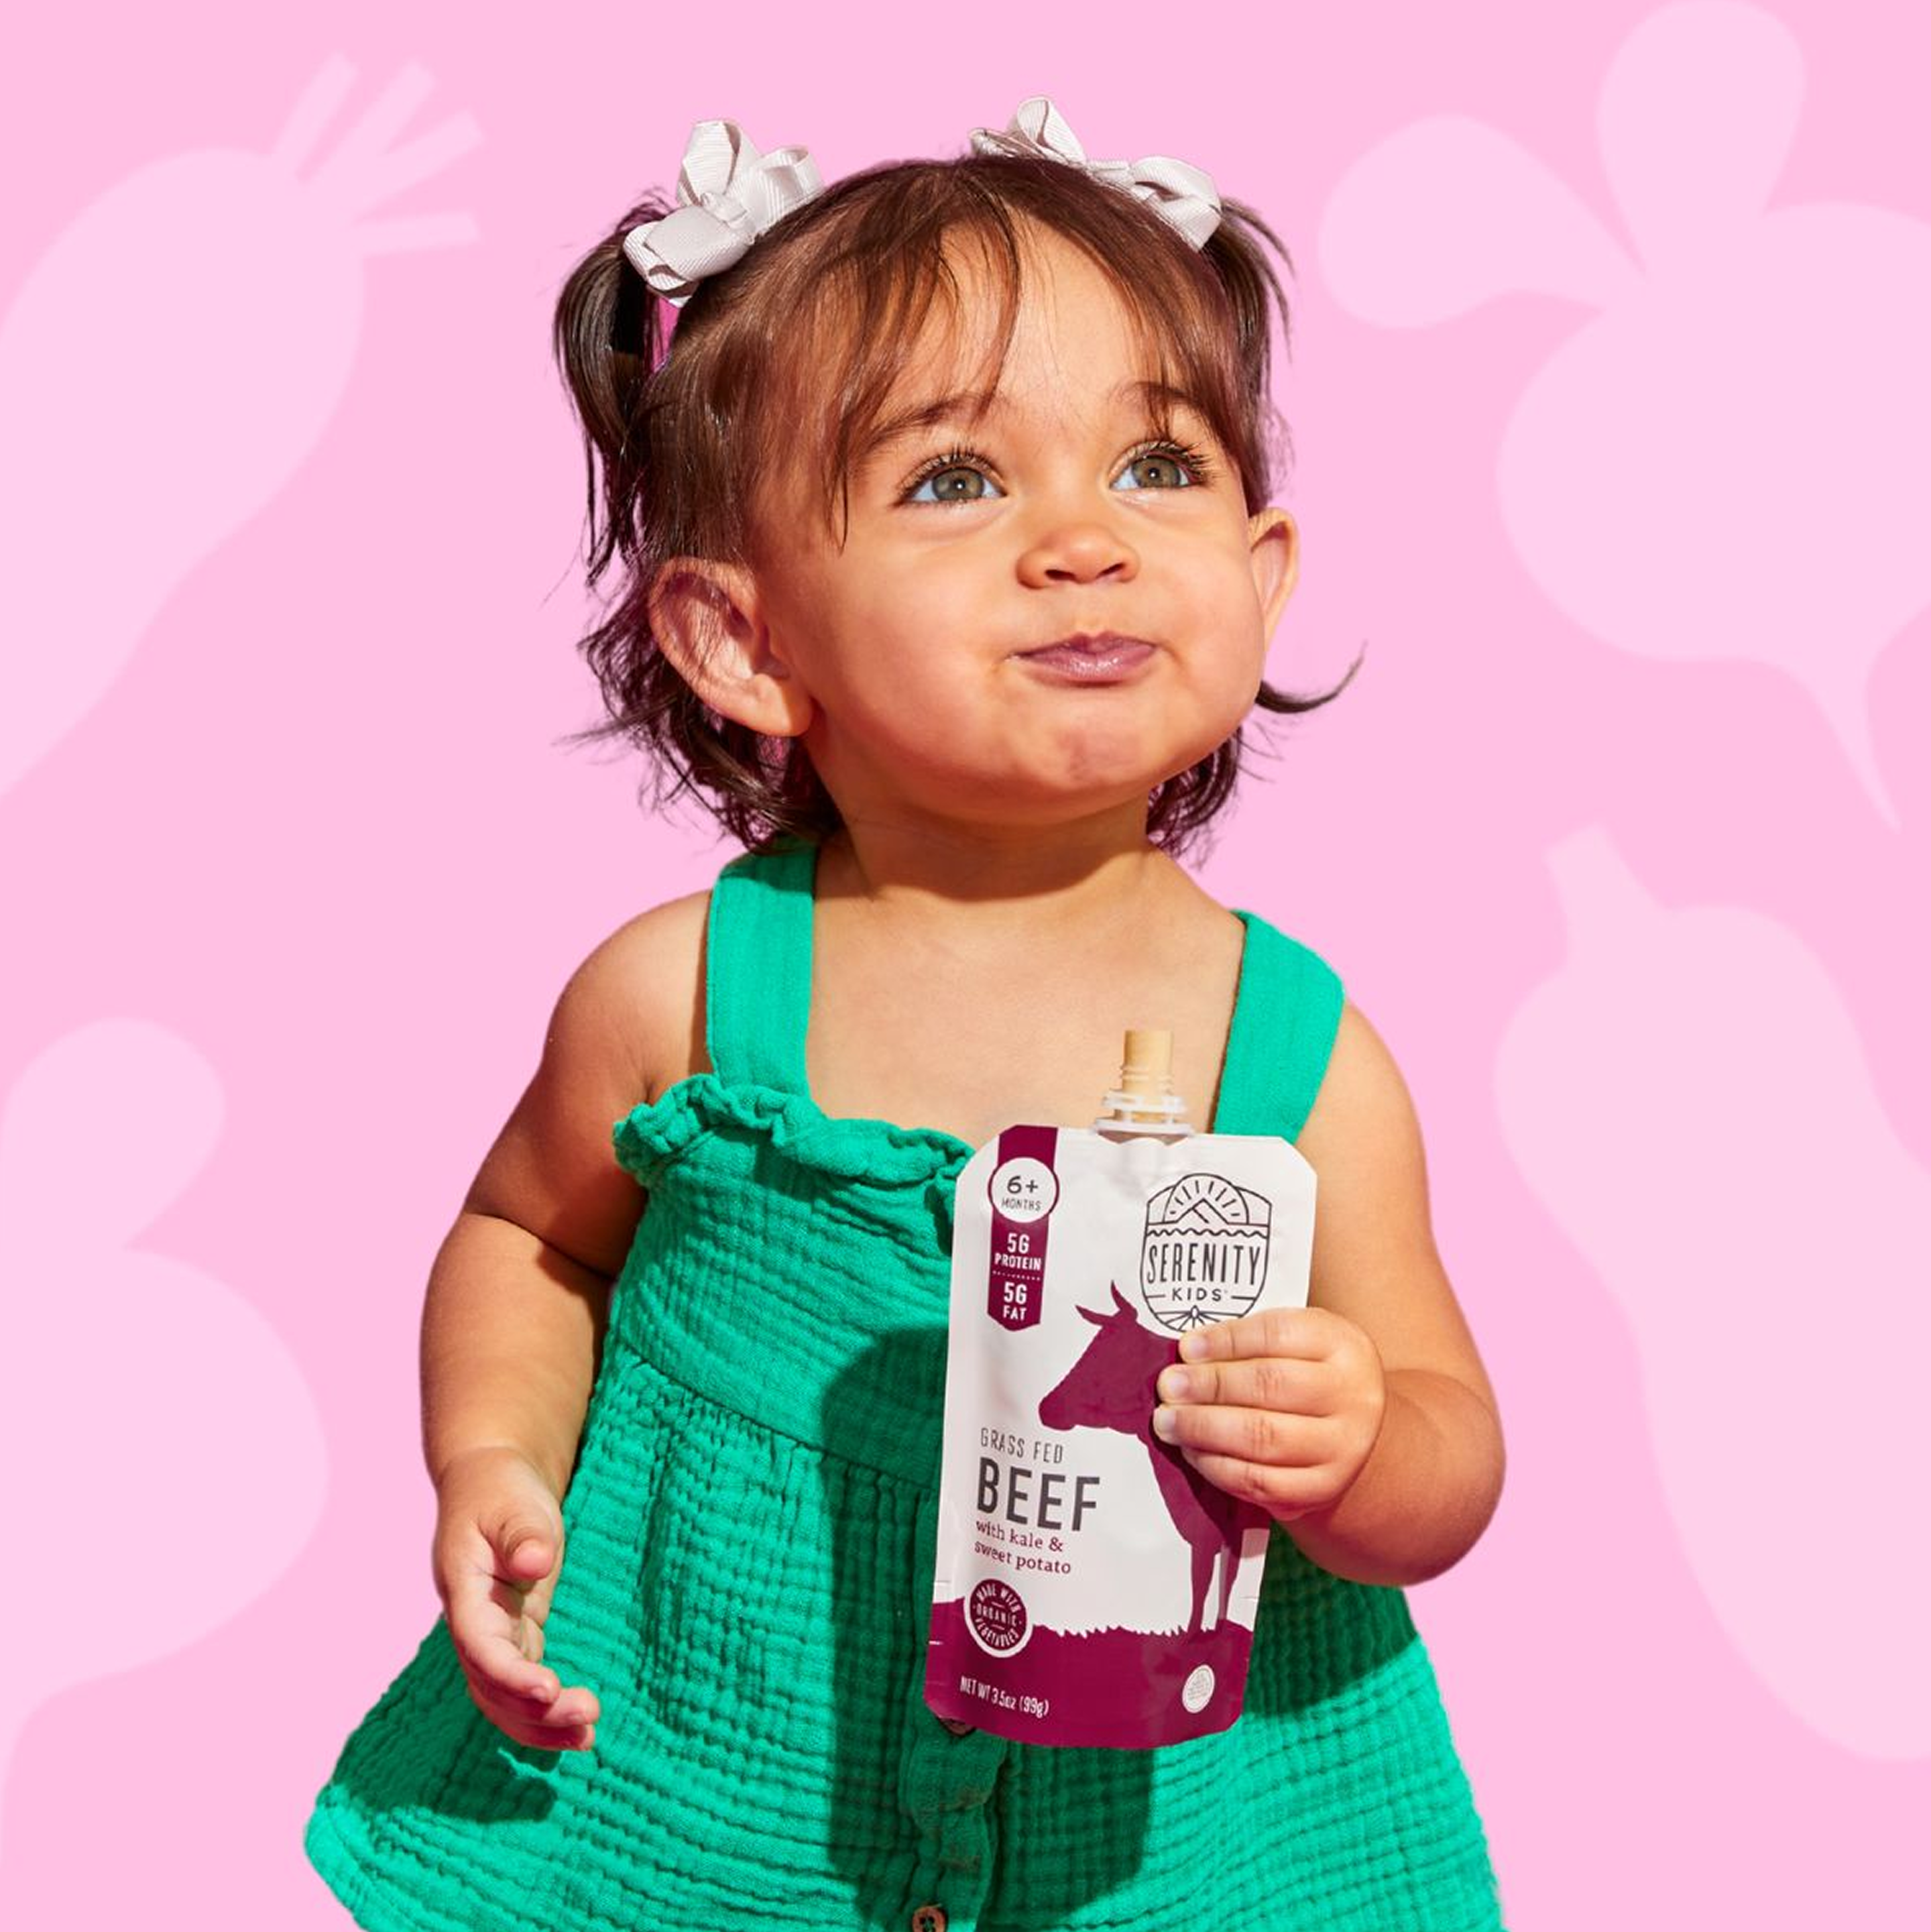
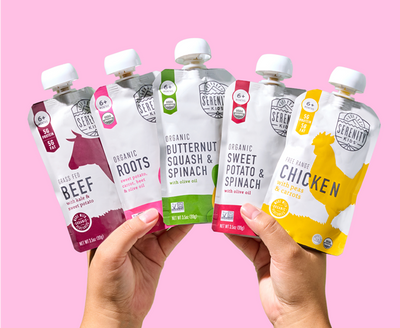
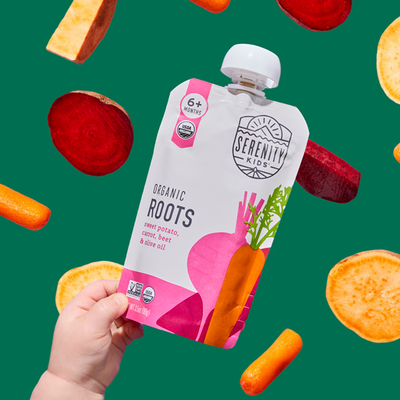
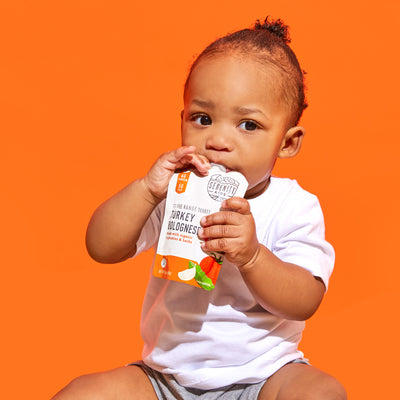
Our ready-to-eat baby food pouches offer a convenient, nutritious alternative when life gets crazy, ensuring your baby gets the best, even on your busiest days.
Why Make Homemade Baby Food?
Making your own baby food comes with benefits that many parents appreciate. Not only do you gain complete ingredient control, but you can also tailor flavors and textures to suit your baby’s nutrient and developmental needs. Plus, homemade baby food can save money and reduce reliance on store-bought options.
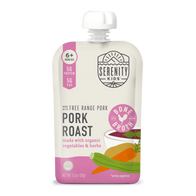
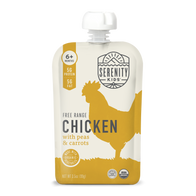
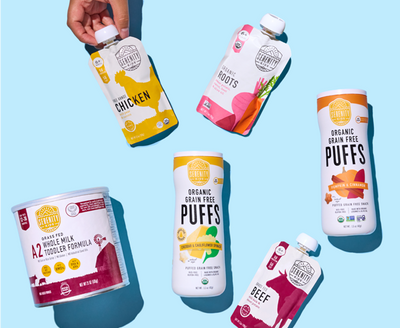
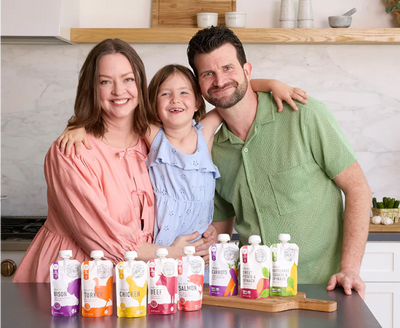
Best Sellers
They're not just parent favorites—they're little ones favorites too.

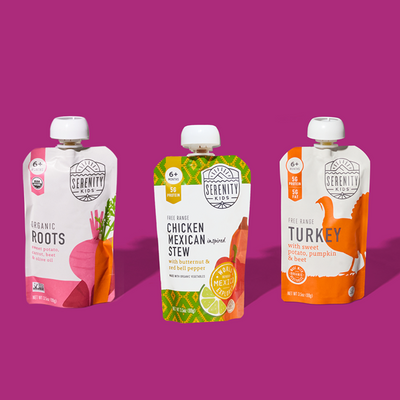
Little World Traveler Pack


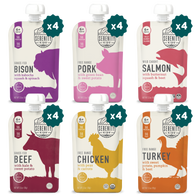
Power Protein Variety Pack


Benefits of Homemade Baby Food
-
Ingredient Control: When you make your own baby food, you decide exactly what goes into it. This means no unwanted additives or preservatives—just whole, nutrient-dense foods.
-
Customization: Homemade baby food recipes allow you to adjust flavors and textures as your baby grows. You have full control—from serving smooth purees for early solids to gradually introducing thicker mashed foods and soft finger foods for baby-led weaning.
-
Cost Savings: Preparing your baby food is often more budget-friendly compared to commercial baby food.
-
Enhanced Nutrition: Homemade recipes ensure your baby gets the full benefit of vitamins, minerals, and fiber from fresh produce, supporting overall growth and healthy eating patterns.
Essential Tools for Making Baby Food
To make your own baby food at home, a few simple kitchen tools can go a long way:
-
Blender or Food Processor: Essential for creating smooth purees.
-
Immersion Blender: Great for adjusting texture without transferring food.
-
Steamer Basket: Ideal for gently cooking vegetables to preserve nutrients.
-
Vegetable Peeler, Cutting Board, and Sharp Knife: Helpful for preparing veggies.
-
Ice Cube Trays: Perfect for portioning out your homemade baby food to refrigerate or freeze.
-
Freezer Storage Bags or Airtight Containers: For storing leftovers safely.
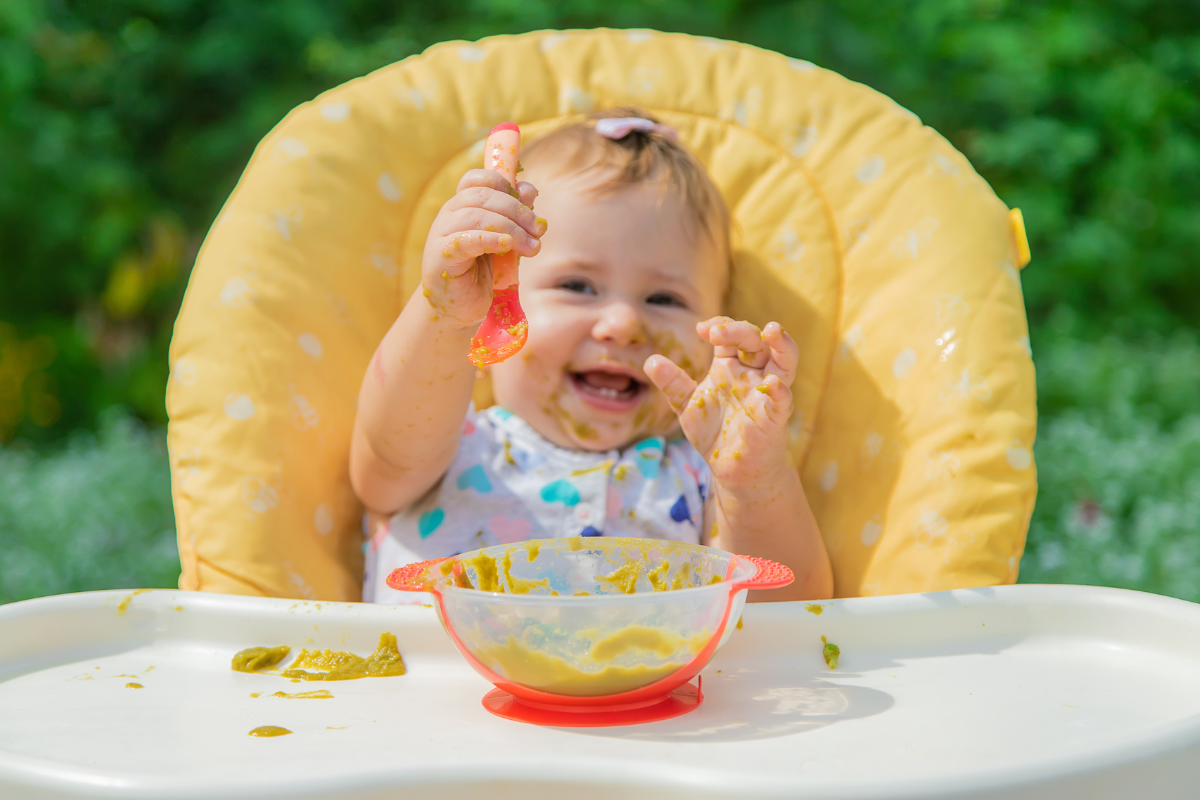
Getting Started – How to Make Homemade Baby Food
Transitioning your baby to solid foods is a big step. Making your own baby food lets you choose fresh, organic ingredients and create meals perfect for your little one’s taste and texture needs.
Choosing the Right Ingredients
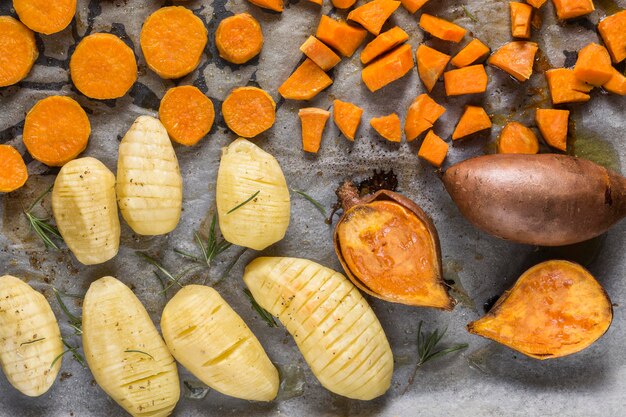
Fresh, seasonal produce is always a great start. Vegetables like sweet potatoes, carrots, green beans, and butternut squash provide a natural sweetness and high nutritional value. Fruits like pears and bananas also work well—but while they make excellent purees, experts recommend balancing these naturally sweet options with other flavors to support your baby’s developing palate.
Cooking & Blending Techniques
There are several effective methods for cooking the ingredients to create the perfect consistency:
-
Steaming: Ideal for preserving nutrients and creating a smooth puree. Simply steam your vegetables until fork tender, then blend them in a food processor.
-
Roasting: Enhances natural flavors by caramelizing the sugars in vegetables, giving a rich, nutty taste that’s great for both purees and finger foods.
-
Boiling: A quick method to soften ingredients, but may lead to some nutrient loss and bland flavors.
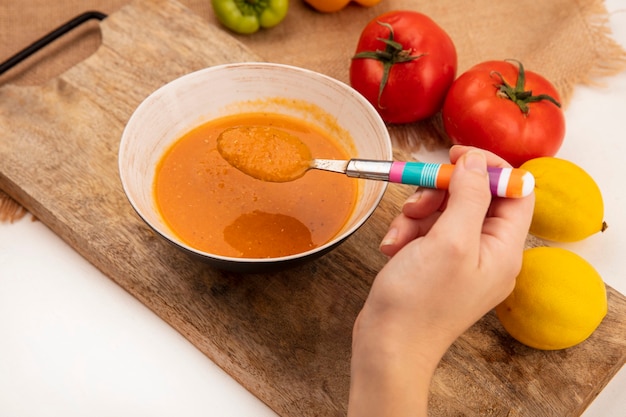
After cooking, blend your ingredients using a food processor or immersion blender until you achieve a puree with a texture that suits your baby.
Easy Homemade Baby Food Recipes (Beginner-Friendly)
If you’re new to making fresh baby food, starting with simple recipes is the best way to ease into the process.
First Purees for Babies
These basic purees are perfect for introducing solids to younger babies:
Sweet Potato Puree

Ingredients:
-
1 medium sweet potato
-
Bone broth or breast milk (to adjust consistency)
Instructions:
-
Wash, peel, and cut the sweet potato into small cubes.
-
Steam the cubes in a steamer basket until fork tender (about 20 minutes).
-
Blend in a food processor until smooth, adding bone broth or breast milk to reach your desired consistency.
-
Allow the puree to cool before serving.
Avocado Puree

Ingredients:
-
1 ripe avocado
Instructions:
-
Scoop out the avocado flesh.
-
Mash thoroughly with a fork or blend briefly in a food processor for a smoother texture.
-
Serve immediately to avoid browning.
Simple Combinations for More Flavor
Once your baby is comfortable with single-ingredient purees, you can mix ingredients for more flavor:
Apple & Carrot Puree
Ingredients:
-
1 apple (peeled and cored)
-
1 small carrot (peeled)
Instructions:
-
Chop the apple and carrot into small pieces.
-
Steam or roast them together until fork tender (around 20–25 minutes).
-
Blend until smooth, adding water or breast milk as needed.
-
Cool and serve.
Pear & Butternut Squash Puree
Ingredients:
-
1 ripe pear (peeled and cored)
-
1 small butternut squash
Instructions:
-
Peel and chop the pear and butternut squash into cubes.
-
Steam or roast until both are tender.
-
Blend until smooth, adjusting consistency with water or breast milk.
-
Serve cool.
These beginner-friendly homemade baby food recipes are a great introduction to making your own purees.
Intermediate Homemade Baby Food Ideas (More Variety)
At any point, you can explore more complex recipes that introduce additional flavors and textures.
Adding Protein & Healthy Fats
Introducing protein is essential as your baby grows. Instead of relying on vegetables for protein, opt for pureed meat and egg options:
-
Pureed Chicken, Beef, Turkey, Lamb, or Salmon: Well-cooked and blended until smooth, providing essential amino acids and iron.
-
Scrambled Eggs: Use scrambled eggs to add vital nutrients like protein, fats, and iron.
-
Healthy Fats: Incorporate ingredients like avocado, olive oil, or smooth nut butter (if there are no allergy concerns) to enhance the nutritional value and taste.
Gradually Increasing Texture
Transition from smooth purees to thicker mashed foods:
-
Mashed Foods: Use a potato masher or fork to lightly mash your cooked vegetables for a thicker consistency.
-
Chunkier Purees: Slowly introduce small, soft lumps into your purees to encourage chewing and self-feeding.
These intermediate recipes provide more variety and help expand your baby’s palate as they start to enjoy more textures and flavors.
Advanced Homemade Baby Food Creations (For Confident Cooks)
For parents who feel comfortable in the kitchen, advanced homemade baby food recipes offer a chance to create baby-friendly versions of family meals. These recipes are perfect for older babies who can handle a variety of textures and enjoy more complex flavors.
Baby-Friendly Family Meals
Adapt everyday family meals to be baby-safe:
-
Mini Pancakes: Make small, soft grain-free pancakes that your baby can easily pick up and chew.

-
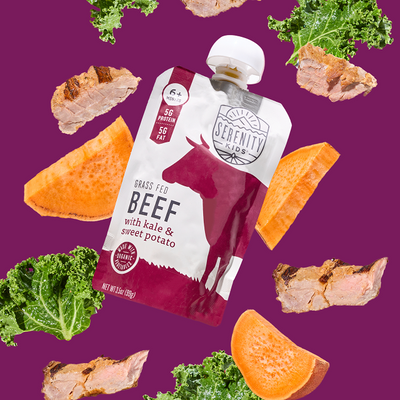
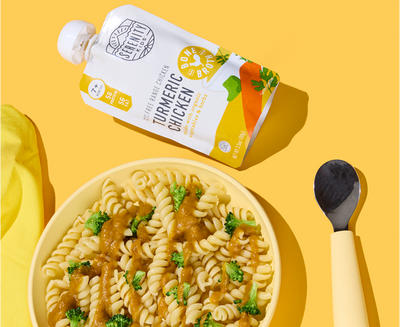
Mashed Pasta Dishes: Serve grain-free pasta mashed and mixed with pureed vegetables and meat (or a Serenity Kids pouch!) for a balanced, family-style meal.
-
Modified Family Dinners: Offer soft, appropriately cut versions of your regular meals—such as strips of steak or flaked salmon—so your older baby can experience the flavors of a family meal.
Fun and Creative Baby Food Ideas
Make mealtime fun and engaging with creative presentations:
-
Colorful Purees: Mix a variety of vegetables and fruits to create visually appealing, vibrant purees that attract your baby’s attention.
-
Shaped Finger Foods: Use fun molds to form food into playful shapes or arrange soft foods into fun designs, like half moon or star shapes, to encourage your baby’s curiosity.
-
Tasting Plates: Serve a small selection of different purees and mashed foods on one plate, allowing your baby to try several flavors at once.
These advanced ideas allow you to experiment with flavor combinations and presentation while ensuring your baby’s meals remain safe, nutritious, and enjoyable.
Storage & Safety – How Long Does Homemade Baby Food Last?
Proper storage is essential to ensure that your homemade baby food retains its nutritional value and remains safe for consumption.

How Long is Homemade Baby Food Good For?
-
Refrigerator: Store your homemade baby food in an airtight container for up to 48 hours.
-
Freezer: When frozen in ice cube trays or freezer storage bags, your homemade baby food can last between 1 and 3 months.
Signs That Baby Food Has Gone Bad
Be sure to discard your baby food if you notice:
-
A sour or off smell
-
Unusual texture or separation
-
Visible mold or discoloration
-
Any signs of contamination
Following these guidelines will help ensure that your baby is always served safe, high-quality homemade baby food.
Freezing Baby Food – How to Store Homemade Baby Food in the Freezer
Batch cooking and freezing is a great strategy for busy parents. Here are some tips on how to store your homemade baby food in the freezer:
Best Containers for Freezing Baby Food
-
Ice Cube Trays: Ideal for portioning purees into single servings. Once frozen, transfer the cubes to freezer storage bags.
-
Silicone Trays: A reusable option that makes it easy to pop out individual servings.
-
Glass Jars: Suitable for storing larger portions if you plan to use them within a few months.

How to Safely Defrost and Reheat Baby Food
-
Thawing:
-
Place frozen baby food in the refrigerator overnight for a slow thaw or run the ice cube tray under cool water for a quicker option.
-
-
Reheating:
-
Warm the food gently on the stovetop or in the microwave, stirring well and checking the temperature to ensure it’s not too hot.
-
-
Avoid Refreezing:
-
Once thawed, use the baby food within 24 hours and do not refreeze to preserve quality and safety.
-
Final Thoughts on Homemade Baby Food
Making your own baby food provides fresh, nutrient-dense meals tailored to your baby’s needs. From simple purees for first foods to more advanced, textured meals for older babies, homemade baby food recipes empower you to ensure your baby receives balanced nutrition.
We know that finding the time to make your own baby food can be a real challenge. That’s why Serenity Kids has done the hard work for you—sourcing the very best, high-quality ingredients so you never have to compromise on nutrition. Our ready-to-eat baby food pouches offer a convenient, nutritious alternative when life gets crazy, ensuring your baby gets the best even on your busiest days.
Happy cooking, and here’s to a nutritious food journey for your little one!
FAQ
Q: What are the benefits of making homemade baby food?
A: Homemade baby food gives you full control over ingredients, allows you to customize flavors and textures, and ensures your baby receives fresh, nutrient-dense foods. It’s also cost-effective and lets you avoid ingredients you don't want that might be found in some store-bought baby food.
Q: What essential tools do I need to make homemade baby food?
A: You’ll need a blender or food processor (or an immersion blender), a steamer basket, a vegetable peeler, a cutting board, a sharp knife, ice cube trays for portioning, and freezer storage bags or airtight containers for storing your food.
Q: What are some beginner-friendly homemade baby food recipes?
A: Start with simple purees with basic ingredients like sweet potatoes. Once your baby is comfortable, try combining flavors and playing with chunkier textures.
Q: How should I store and serve homemade baby food?
A: Store homemade baby food in an airtight container in the refrigerator for up to 48 hours, or freeze it in ice cube trays and transfer the frozen cubes into freezer storage bags for 1–3 months. Always ensure the food is properly thawed and at a safe temperature before serving.
Q: How can I adjust the texture of baby food as my baby grows?
A: You can start with completely smooth purees for younger babies, then gradually transition to thicker, mashed foods and soft finger foods as your baby develops chewing skills and becomes ready for more texture.
Q: What can I do with leftover baby food?
A: Repurposing leftover baby food into popsicles is a smart, nutritious way to reduce waste. Simply spoon your leftover purees into ice cube trays or silicone molds, freeze them, and you’ve got a refreshing treat that’s perfect for teething or as a healthy snack on warm days. You can even mix in a bit of unsweetened yogurt or a splash of water to adjust the texture and flavor. This method maximizes nutrition and keeps your toddler meal prep stress-free!